I know this title sounds strange but i couldn't really think of something better.....
So this article is part of the how i built that series, last time it was a data persistence Timetable app( link ), this time it's a Customer care icon button. The Idea for this project came to me after i used the tawk.to service, So basically how tawk.to works is by allowing users to receive messages directly from their websites by giving you a script in which you paste in your html file and it then renders a button on the web page in which users can send in messages,

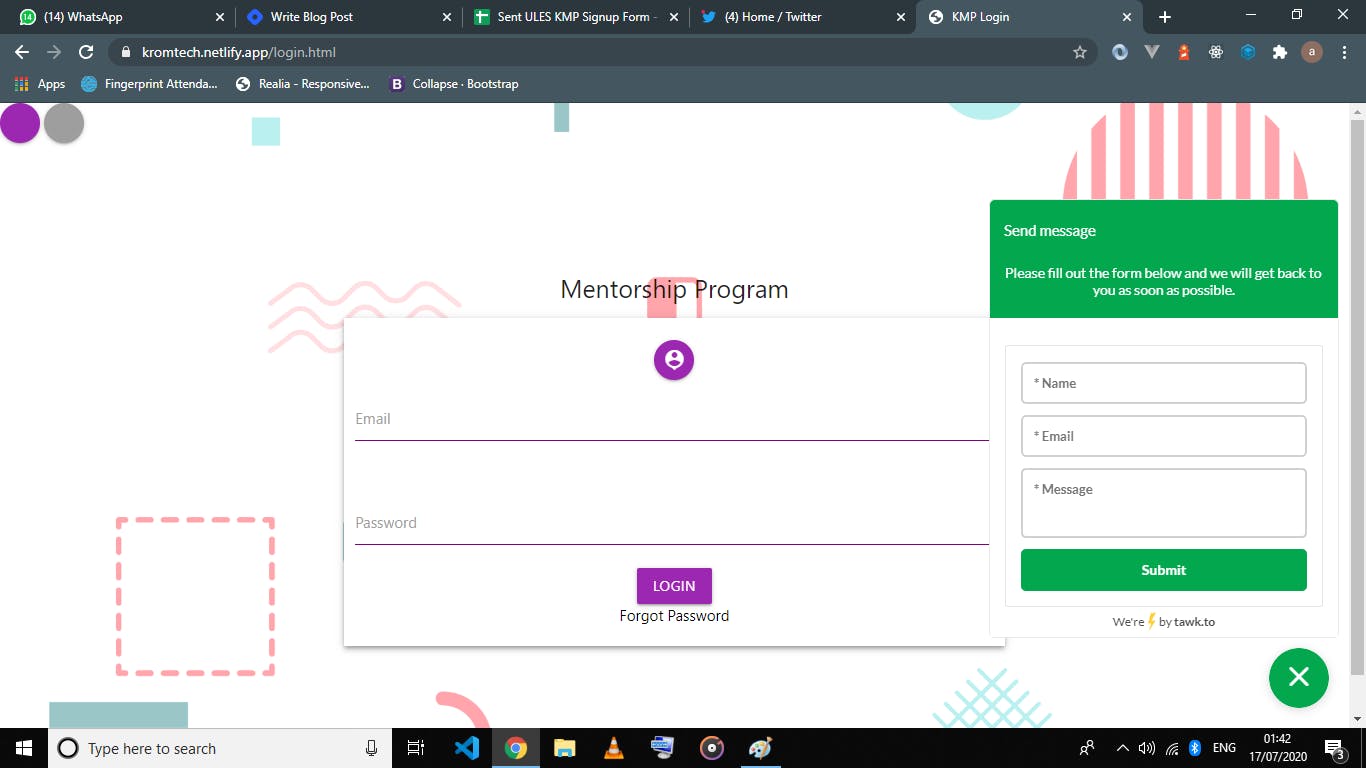
the image above contains a site i was working on with Tawk.to messaging box by the bottom right corner
while tawk.to was nice and all i had to discontinue it's usage because it was filling up by mailbox way too fast, for each message i got from the site a mail was sent to my inbox, this was perfect for individuals that wanted real-time response from their sites but not for me, but instead of searching the settings to check if there was a way to turn this function off i just discarded it completely and built mine own custom version of tawk.to.
The Build Process
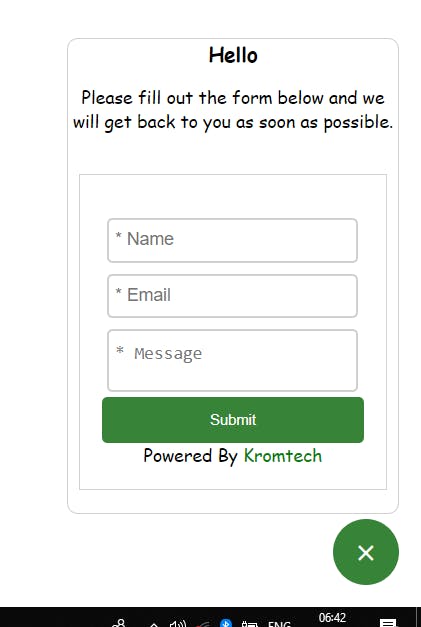
So first was the HTML & CSS which was surprisingly easy, not perfect but OK

the GitHub repo would be linked below, and for the CSS gurus in the house, your contributions are highly appreciated.
After achieving the body and looks the next step was the functionality, what i wanted to happen every time the submit button was clicked was that the content of the form would be submitted to a spreadsheet and not my mail and lucky for me i had worked on linking html forms to google spreadsheets in an earlier project, so this was also relevantly simple, while i won't be going into details on how to link html forms and google sheets here is the Link for those that would love more information on the process.
After all the basics were done one more step remained, i needed to convert the html button into a JavaScript component, thanks to document.createElement, template literals and .innerHTML this was done in seconds, You can find the code below
loaded = function () {
  let head = document.querySelector('head')
  let body = document.querySelector('body')
  let link = document.createElement('link')
  let style = document.createElement('style')
  let contentBody = document.createElement('div')
  contentBody.className = 'body123'

  link.rel = 'stylesheet'
  link.href = 'https://fonts.googleapis.com/icon?family=Material+Icons'

  style.innerHTML = `

  .box123456789 {
    max-width: 300px;
    height: fit-content;
    background-color: rgb(255, 255, 255);
    margin-bottom: 5px;
    border-radius: 10px;
    border: 1px solid #d0d0d0;
  }
  button {
    background-color: ${color};
    cursor: pointer;
  }
  header {
    text-align: center;
    /* background-color: rgb(33, 151, 33); */
    border-bottom: 1px solid white;
  }
  form {
    display: flex;
    flex-direction: column;
    border: 0.1px solid #d0d0d0;
    padding: 20px;
    margin: 20px 10px;
    border-radius: px;
    text-align: center;
  }
  textarea {
    resize: none;
    border: 2px solid #d0d0d0;
    border-radius: 5px;
    padding: 11px 0;
    margin: 5px;
    padding-left: 5px;
    outline: none;
  }
  input {
    border: 2px solid #d0d0d0;
    border-radius: 5px;
    padding: 11px 0;
    padding-left: 5px;
    margin: 5px;
    outline: none;
  }
  ::placeholder {
    font-size: larger;
  }
a{
  display: inline;
  text-decoration: none;
  color: green;
}
  button.shrrr {
    border: none;
    outline: none;
    border-radius: 5px;
    min-height: 42px;
    padding: 7px 15px 8px 15px;
    color: white;
  }
  button.shrrr:disabled {
    border: none;
    outline: none;
    border-radius: 5px;
    min-height: 42px;
    padding: 7px 15px 8px 15px;
    color: white;
    background-color: grey;
  }
  #b123 {
    float: right !important;
  }
  .body123 {
    display: flex;
    justify-content: center;
    align-items: flex-end;
    flex-direction: column;
    position: fixed;
    bottom: 20px;
    right: 20px;
    font-family: cursive;
  }
  `
  contentBody.innerHTML = `
    <div class="body123">
    <div id="box123" class="box123456789" style="display: none;">
      <header>
        <h3 style=" margin: 0;">Hello</h3>
        <p>Please fill out the form below and we will get back to you as soon as possible.</p>
      </header>
      <form action="" name="submit-to-google-sheet">
        <div class="v123"></div>
         <input type="text" placeholder="* Name" name="Product" value='KT' style='visibility: hidden; height:0px; padding:0px'>
        <input type="text" placeholder="* Name" name="Name" required>
        <div class="v123"></div>
        <input type="email" placeholder="* Email" name="Email" required>
        <div class="v123"></div>
        <textarea id="" name="Message" placeholder="* Message" required></textarea>
        <button id="SUB123" class="shrrr">Submit </button>
        <span>Powered By <a href="http://thekrom.tech">Kromtech</a> </span>
      </form>

    </div>
    <button id="b123"
      style="width: 60px; height: 60px; outline: none; border-radius: 50%; border:none; padding-top:5px;">
      <i class="material-icons" id="c123" style="color: white;">chat</i> </button>
  </div>
  `


  head.appendChild(link)
  head.appendChild(style)
  body.appendChild(contentBody)

  functionality()

}
what the code block above does is, create the required tags, insert the content into the tags and then apprend them to their respective areas.
Note:- the approach i used required me to apprend the component directly into the DOM, and this included the stylesheet too, so when styling the components i had to give them unique names so the component styles do not accidentally overwrite the default styles of whoever might be using this component. All this can be prevented by using inline CSS
LINKS